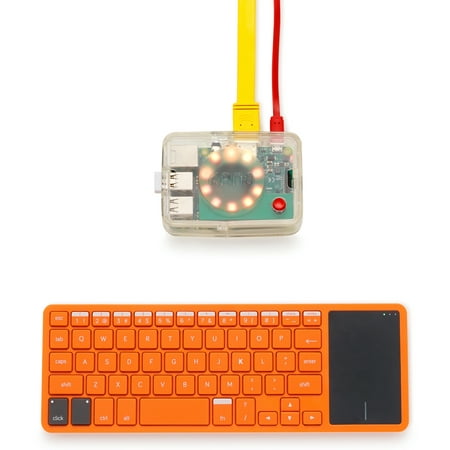
Raspberry Pi 3 Board and 16GB, 10class, with NOOBS
Hey guys,
So, I had this silly idea of making a Raspberry pi 3
 diy laptop using recycle boxes. After a while, I came up with this. I think, I might have done things differently. But, I don't have any more boxes that have the same frame and size.
I was thinking of getting a keyboard with a touchpad, but decided on getting this compact A4Tech
 . So far, I like it. Only some of the keys are different from your usual design. Mine is the UK version. The mouse are just an old one that I had. The led light on it will turn off and let me know if the pi 3 are really shut down.
I had bought the mini speaker
 with a jack thinking, I could just plug it in the pi but, the casing was blocking it. That's why it's on top of the keyboard. Also, it need triple AAA batteries and an on/off switch. It'll be easier for access and maintenance purposes.
I was afraid to buy a bluetooth version of the keyboard and speaker as it might not work with the pi. Anyway, the pi 3 have 4 usb port. And, I can always change to a headphone. I'll just leave the setup as it is for the moment.
I didn't really want to take out my all-in-one 7" touchscreen
 and raspberry pi 3 casing
 . As, I can just unplug the accessories and use it without the box. I'm still looking around for a better casing that will fit the raspberry pi and it's accessories. If only I have a 3D printer
 . :p
. :pAnyway, check out the video!

Raspberry Pi 3 Board and 16GB, 10class, with NOOBS

Raspberry Pi 3 7-Inch Touchscreen Display

Stontronics 2.5A Micro-USB Power Supply for Raspberry Pi 3 - T5875DV
Nowadays, you can practically do anything with easy access to all parts and diy machines. Be it in computer and electronic parts. Or for any kind of projects you're thinking of. It's the time of the maker at home!
Have fun!
P.S Raspberry Pi 3 Board and 16GB, 10class, with NOOBS